Blackhawk Luxury Home Staging Strategies That Sell
Is your Blackhawk home picture‑perfect, or does it still feel a little too big, too dark, or too personal to today’s luxury buyer? Preparing an estate for market can feel overwhelming, especially when every room and outdoor space needs to tell a story. The good news is that focused luxury staging can transform how buyers see your property, shorten time on market, and set you up for stronger offers. In this guide, you will learn the high‑impact moves that work in Blackhawk: lighting, scale, indoor‑outdoor flow, and pre‑market styling. Let’s dive in.
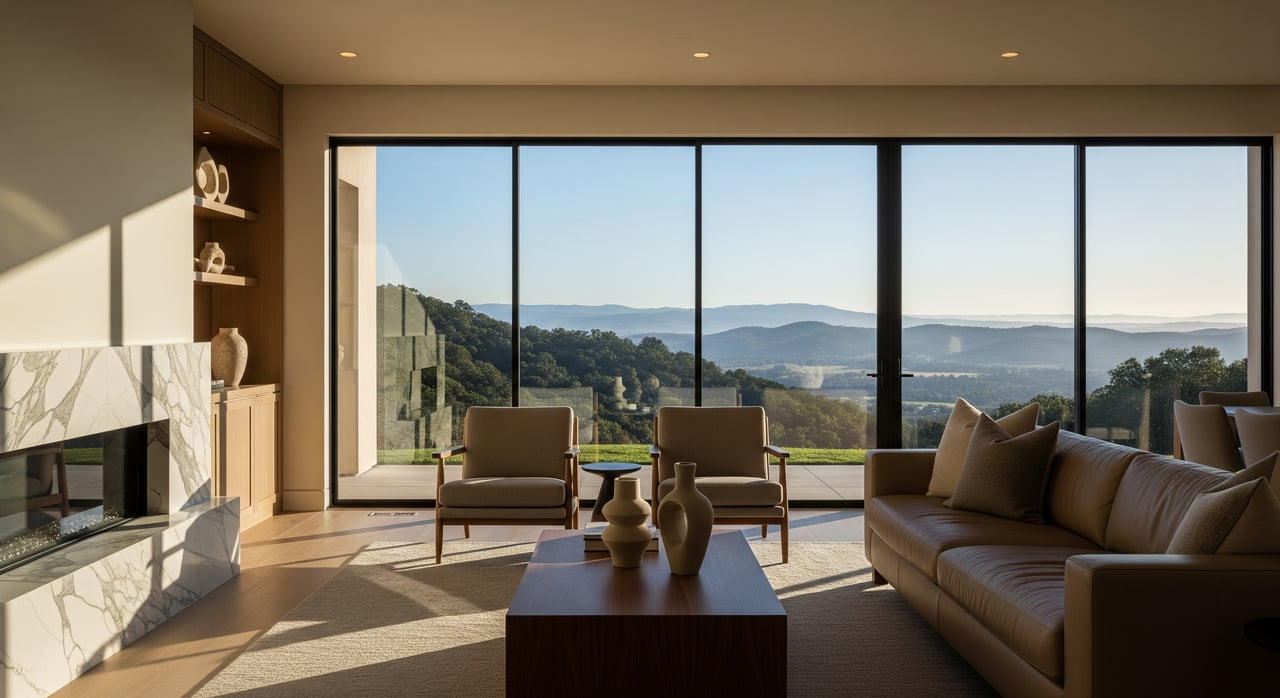
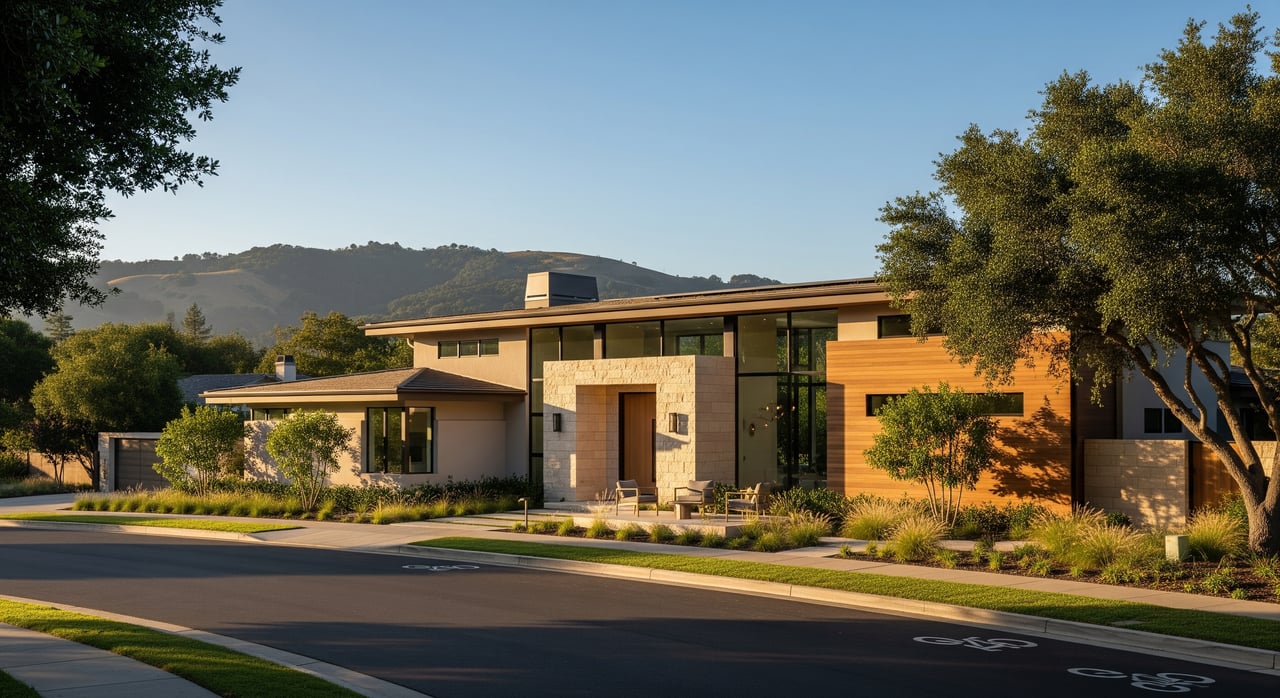
Blackhawk buyers expect a polished lifestyle presentation. They look for privacy, flexible spaces for work and guests, and outdoor rooms for year‑round entertaining. When rooms are large, staging helps buyers understand how they can live there day to day.
Luxury homes photograph and show best when lighting, scale, and outdoor spaces are deliberate and cohesive. This is especially true in our Bay Area market where many high‑end buyers continue to prioritize suburban estates with indoor‑outdoor flow and room to spread out.
Well‑executed staging builds emotional connection, highlights value, and removes friction. It turns square footage into a lifestyle that buyers can immediately picture.
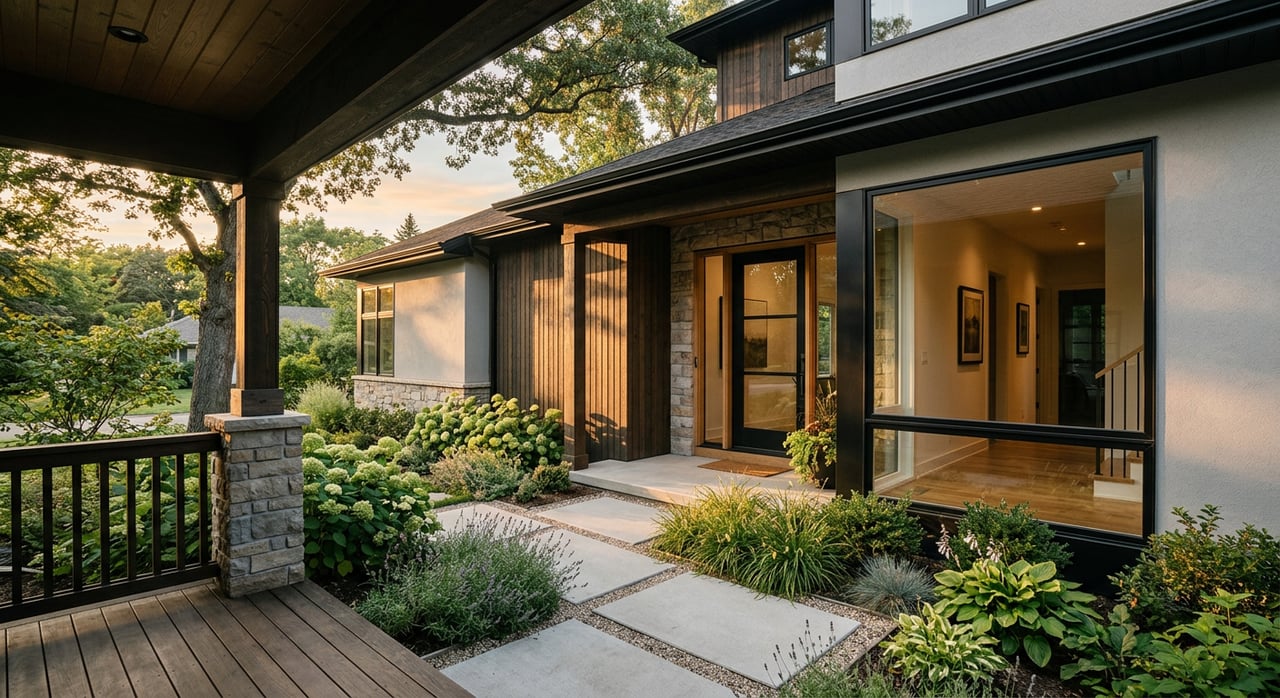
Strong lighting makes big rooms feel warm and welcoming. Start by maximizing natural light. Clean windows, trim vegetation that blocks the sun, and keep draperies open for showings and photos.
Layer your lighting. Combine ambient overhead fixtures with task lighting in the kitchen and office, then add accent lights for art and architectural features. Use warm white bulbs around 2700K to 3000K in living areas to create an inviting tone. Reserve brighter task bulbs for cooking and work zones where clarity matters.
Do not overlook exterior lighting. Illuminate the approach, the façade, key trees, and the pool or spa. This sets the stage for twilight photography and evening showings, which are powerful for luxury listings.
Big rooms can feel cold if furnished like average‑sized homes. Use appropriately scaled pieces and create zones. In a great room, for example, you might show two seating areas and a reading corner rather than one sofa and a coffee table.
Create human‑scale vignettes that suggest real living patterns. A music corner, a fireside lounge, or a bar setup helps buyers picture gatherings. Anchor spaces with oversized rugs and larger art or mirrors, and define circulation so furniture is not pushed to the walls.
If your existing inventory feels too small, consider rented luxury furniture or custom pieces that match the architecture and ceiling height.
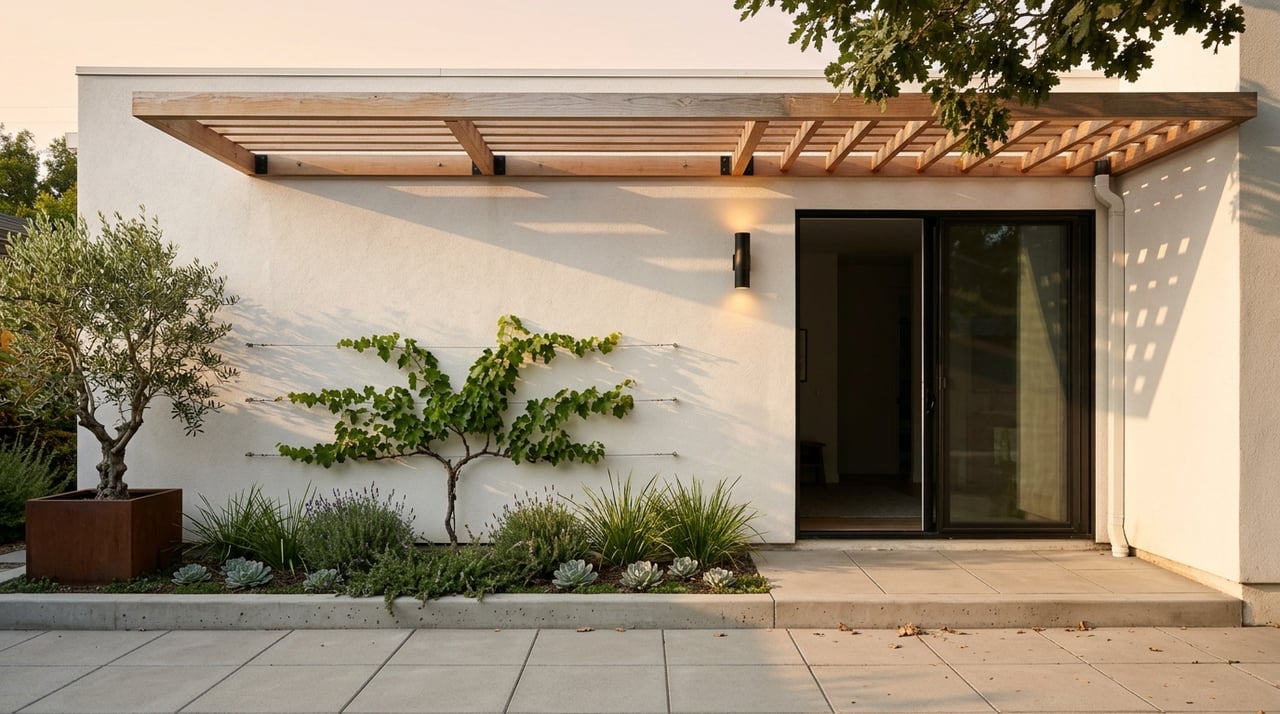
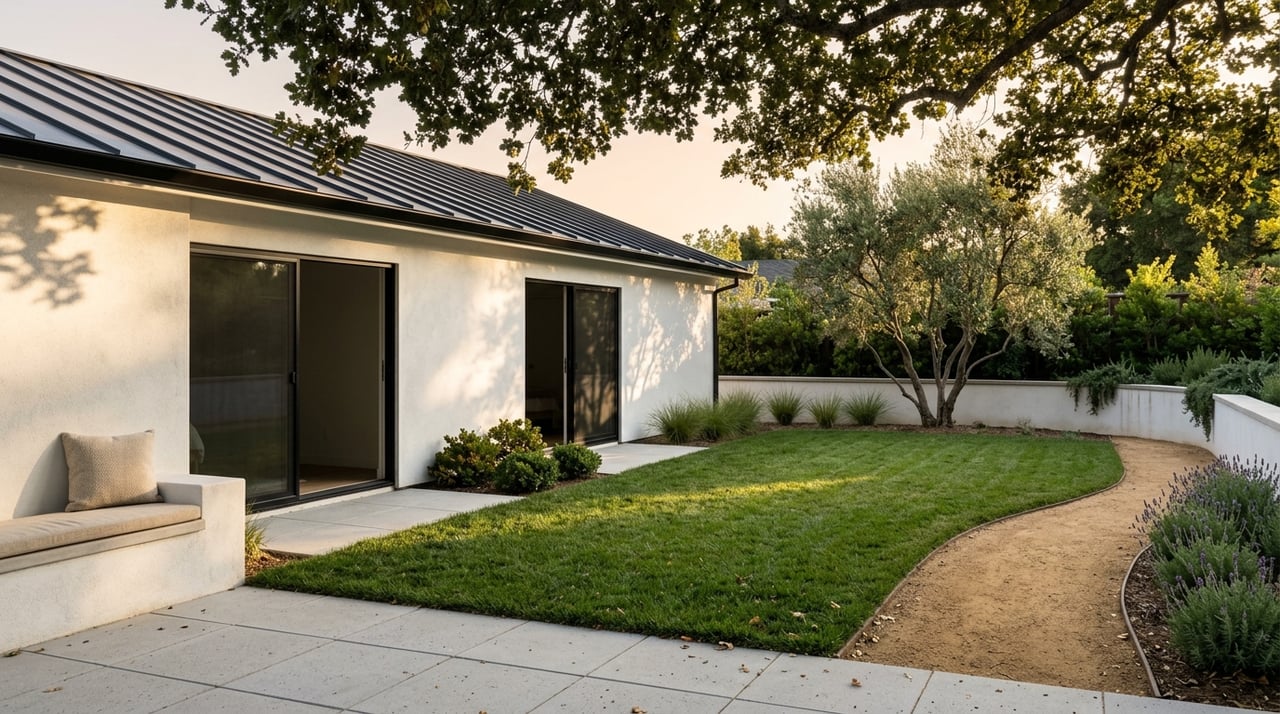
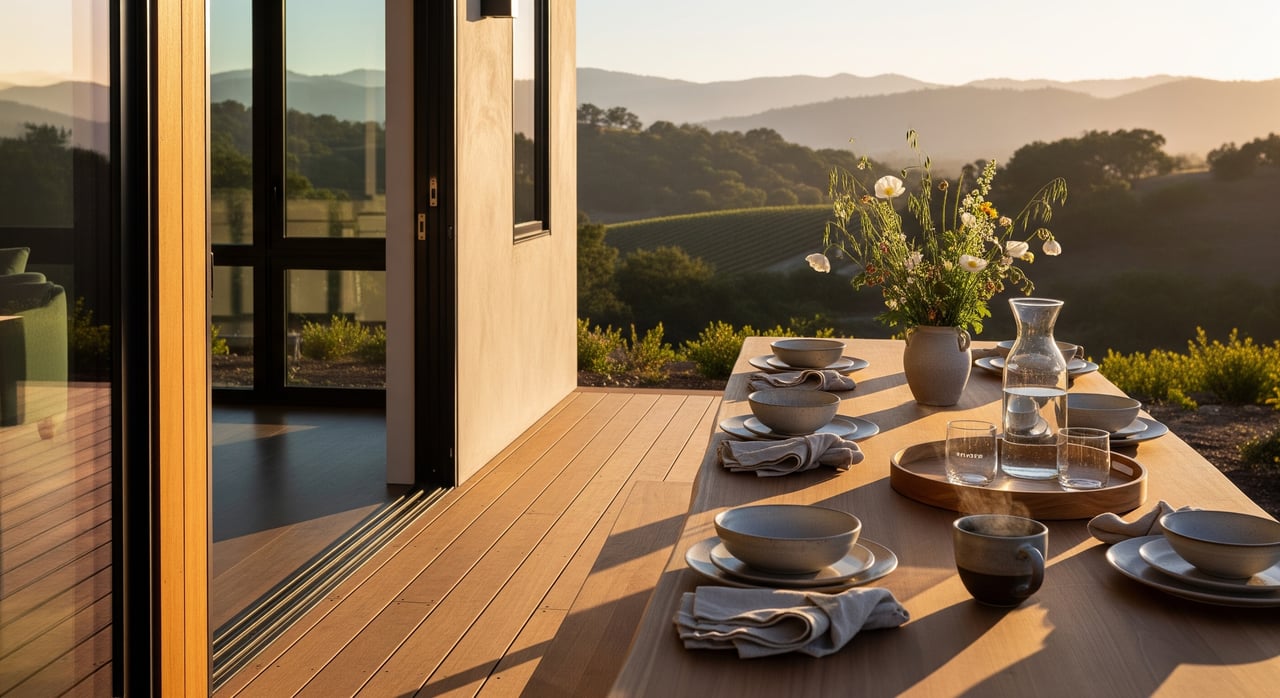
Outdoor rooms are a priority for Blackhawk buyers. Stage patios, loggias, and pool areas as true extensions of the interior. Keep the color story consistent, use quality outdoor textiles, and arrange functional groupings for dining, lounging, and fireside conversations.
Highlight focal points like the outdoor kitchen, pool, and firepit. For showings, set the dining table, add neutral cushions, and place lanterns to suggest evening ambience. Capture both daytime and twilight photos to show how the property lives around the clock.
In the luxury segment, condition is part of the staging story. Declutter and depersonalize, repair obvious issues, deep clean, and change HVAC filters. Refresh walls in neutral, elevated tones where needed and address worn finishes that distract from value.
Virtual staging can help for vacant spaces online, but in‑person staging with real furniture typically delivers a stronger tactile impression in luxury homes.
Staging budgets vary based on size, scope, and inventory. Larger estates, outdoor rooms, and custom or higher‑end furnishings increase cost. Vacant homes require full installation and a rental period, while occupied homes may need styling, selected furniture swaps, and updated hardware.
Gather estimates from Blackhawk‑area stagers early. Request itemized quotes for furniture, delivery, installation, monthly rental, and de‑installation. Confirm lead times for specialty pieces.
Industry studies consistently find staged homes tend to sell faster and often attract stronger early interest. In luxury, ROI often shows up as improved buyer perception, more confident pricing, and a better negotiation position rather than a single predictable percentage.
Build in extra time for custom furniture and specialized outdoor setups.
Engage professionals with experience at the estate scale:
Vetting checklist:
Blackhawk communities often have HOA rules that affect staging and showings. Confirm sign placement rules, open house guidelines, and gate access for vendors. Schedule deliveries within approved hours and share gate instructions in advance.
Temporary staging elements typically do not require permits. Permanent changes such as built‑in kitchens or hardscape additions may require county permits and can affect valuation and disclosures. Avoid last‑minute structural changes without consulting the county and your listing agent.
Plan for both daytime and twilight photography. Daytime captures space, views, and details. Twilight shows warmth, lighting design, and outdoor ambience. Drone photography can help convey scale, lot orientation, and privacy.
Before the shoot, complete all cleaning and styling. Turn on every light, open all window coverings, and stage both the primary indoor vignettes and the outdoor rooms so the images tell a cohesive story.
The right staging strategy turns your Blackhawk estate into the lifestyle buyers want today. Focus on lighting, scale, indoor‑outdoor flow, and condition, then capture it with professional photography. If you would like a tailored plan, vetted vendors, and a smooth rollout timeline, connect with Nancy Renton for a free, consultative listing prep session.
Stay up to date on the latest real estate trends.

With a strong track record of successful sales and happy clients, Nancy’s commitment to excellence ensures top-tier service and outstanding outcomes.